- New
A Mail deliveries
Order by 4 pm = delivery the next working day.
Free delivery
From CHF 100 purchase
-
MenuBack
-
Online Store
-
-
-
- Couverture
- Temperature control units
- Aids for chocolate
- Chocolate molds
- Praline fillings
- Chocolate ingredients
- Praline hollow body
- Chocolate colors
- Chocolate tattoos
- Chocolate packaging
- Bean to Bar
- Material for cutting chocolates
- Batons with Kirsch
- Airbrush for chocolate
- High Heels Accessories
- Textured films for chocolate
- Chocolate fountain & fondue
-
-
-
-
-
- Cakes Fillings & Ingredients
- Fondant & Marzipan
- Cakes tools
- Cake rings
- Silicone molds
- Decorative mats
- Baking pans for cakes
- Cake stand
- Cakes packaging
- Airbrush for cakes
- Sugar flowers accessories
- Cake Topper & Wedding Figurines
- Cakes dummies
-
-
-
-
-
-
-
-
-
-
-
-
-
-
-
-
-
-
-
-
-
-
-
- Baking chocolate
- Glucose & Sorbitol
- Cocoa beans
- Cocoa nibs
- Monin syrup
- Champagne & Alcohols
- Freeze dried fruits
- Cake & cake glaze
- Flours & baking ingredients
- Chocolate coating & chocolate
- Milk powder
- Granules
- Nuts & Nougat
- Fruit puree
- Creams & Fillings
- Egg yolk & egg white
- Fruit powder
- Special ingredients
- Fondant & Flower Paste
-
-
-
-
-
-
-
- Punching, cutting & embossing
- Mixing bowls & whisks
- Chocolate material
- Thermometer & Burner
- Gloves & Protective Material
- Smoothing & Modeling
- Roll out bar
- Dough scraper & horn
- (Flour) sieves
- Brushes & Tweezers
- Cake turntable
- Spatula & Spatula
- Silicone embossing molds
- Insert strips & cake slices
- Measuring cup
-
-
-
-
-
-
-
-
-
-
-
-
-
-
-
Schablonen & Stencils
-
-
-
-
-
-
-
-
-
-
-
Courses
-
-
- Current courses
- Praline courses
- Chocolate courses
- Chocolate kiss course
- Macaron courses
- Cake courses
- Baking courses
- Patisserie courses
- Ice cream course
- Guetzli, Cookie & Confectionery Courses
- Bread courses
- Pasta courses
- Apéro course
- Cooking courses
- Cupcakes courses
- Éclair course
- Courses in Zurich - Adliswil
- Children's courses
-
-
- Team Events
- Hen Night
- Retail Store
-
About Us
-
-
-
DirectionsDownload relevant PDF now.
-
-
-
Recipes blog
-
-
Recipes Blog
-
-
-
Shipping and Payment
-
Silicone stamp for chocolates, 4 pieces
With these silicone stamps, chocolates can be transformed into real works of art in no time at all. The set consisting of 4 silicone stamps with different designs and the corresponding plastic handles is perfect for conjuring up unique effects on your chocolates. Try it out and add a creative touch to your chocolates. You'll amaze your loved ones!
Data sheet
- Care instructions
- Dishwasher safe
- Size
- Stamp: Ø 3 cm / height: 1.7 cm
- Suitable for
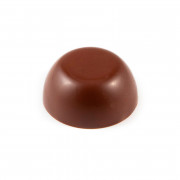
- Chocolate mold hemisphere Ø 3 cm
- Scope of packaging/set
- 4 silicone stamps, 4 plastic handles
- Country of production
- Italy
- Material
- food-safe silicone (BPA free)
Silicone stamp for chocolates, 5 pieces
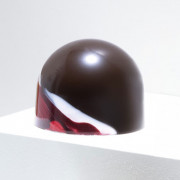
Whether you are a professional or a beginner, these stamps for chocolates are the perfect choice for creating artistic and unique effects on your chocolates. This set consisting of 4 silicone stamps with different designs and the corresponding plastic handles is suitable for decorating your chocolates with geometric patterns. You can add impressive color accents and color overflows to your chocolate creations. These stamps are ideal for use with our Ø 3 cm hemisphere chocolate mold.
Chocolate molds and how to use them
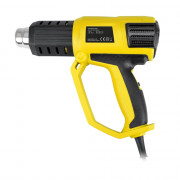
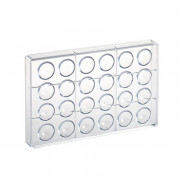
Preparation is extremely important for all molds used for casting chocolate molds. Rinse the mold with lukewarm water and a gentle detergent. This must not contain any lye or rinse aid, as this would attack the molds. Then wash off all residues with lukewarm water and dry the mold thoroughly. Polish the mold with non-fraying absorbent cotton or a very fine handkerchief. From now on, you should no longer touch the mold directly, otherwise you will see fingerprints on the chocolate later. Hold the mold by the edge where no chocolate will be poured later. Make sure that your mold is at room temperature, as a mold that is too hot or too cold can interrupt the tempering process. Next, use an airbrush gun to spray the chocolate half-mould with a cocoa butter paint of your choice. Then prepare your stamp by pressing the plastic handle into the square indentation of the stamp, which fits perfectly for maximum stability. Now heat the stamp with a hot air gun and carefully press it into the mold cavity. This process will give you the beautiful pattern that will adorn your praline.
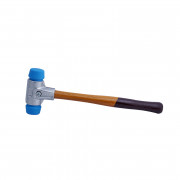
You can then fill the hemisphere mold with tempered couverture and tap the mold several times with a chocolate mallet or the back of a spatula to release any air bubbles. Now turn the mold over and pour the chocolate back into your tempering device. Again, don't forget to tap the chocolate, as we want a nice, thin wall of praline. As soon as the chocolate has completely run out, you need to run the spatula along the bottom of the mold once to remove the excess couverture. Finally, clean again with a metal horn and then place the mold in the refrigerator for approx. 5 minutes. You can then fill your chocolates with a filling of your choice and finish your work of art.
Airbrush gun for chocolate and cocoa butter - application and properties
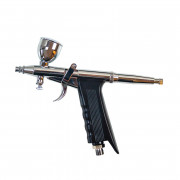
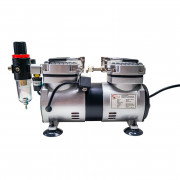
The airbrush gun only needs to be connected to a compressor and then you can carry out various airbrush jobs with the airbrush gun. Make sure that the maximum working pressure is not exceeded. This airbrush gun will not work without a compressor. You can connect the airbrush gun to an existing compressor or purchase our suitable airbrush compressor for chocolate. After connecting the airbrush gun to a compressor, you can fill the paint cup with liquid cocoa butter and close it properly. The air flow starts by pressing the trigger. The spray pattern depends on the distance between the spray nozzle and the work surface.
To achieve particularly even results, slow movements are recommended with a small amount of paint and fast movements with a lot of paint. If you want to spray finer lines, remove the needle cover and bring the gun close to the work surface.
As the airbrush gun set has three differently sized paint containers, you can work with maximum flexibility. To use the airbrush gun, simply fill up the paint container and press the lever back slightly. You can set the desired paint flow rate using the adjusting screw at the end of the handle. You can also adjust the paint flow using an adjusting screw directly on the paint cup.
Please note that our airbrush gun is only suitable for cocoa butter paints or liquid airbrush paint / water-soluble paint for spraying fondant or marzipan. The airbrush gun is made of stainless steel and can therefore be used in the food sector without any problems.
When completing your airbrush work, make sure that the air supply is switched off and the pressure is turned off. Then empty the paint container and clean all parts thoroughly to avoid deposits. Cleaning is also made easier as the gun can be completely dismantled into individual parts. Fill the paint container with water or solvent, then close the needle holder with your finger and operate the trigger to start the air flow. This causes the air to flow into the nozzle and remove the paint remaining in the airbrush. Remove your finger from the needle holder and empty the entire gun. You can repeat this process several times until your gun is completely free of impurities.
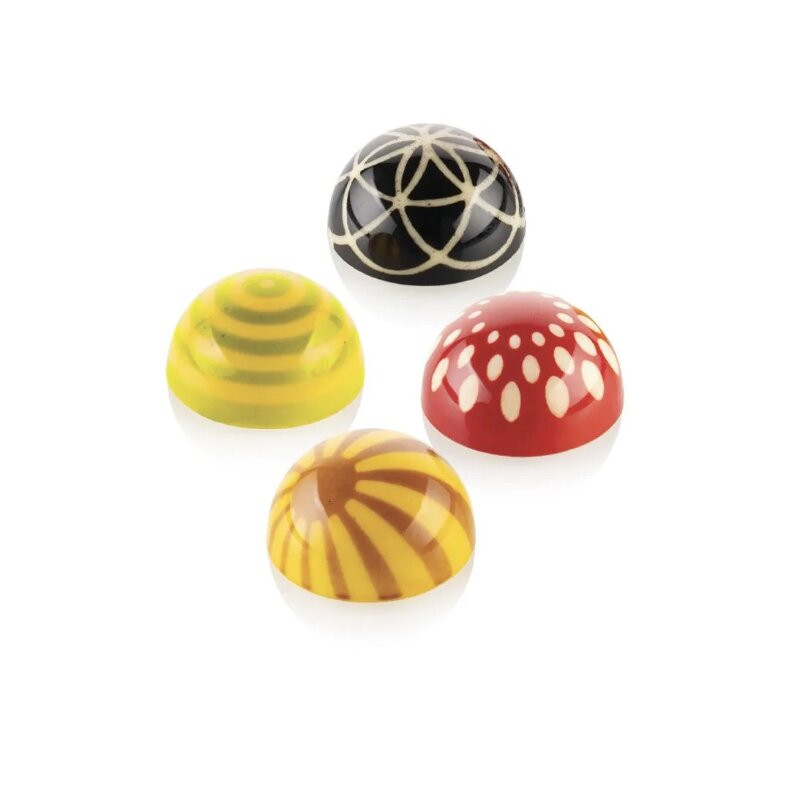
With these silicone stamps, chocolates can be transformed into real works of art in no time at all. The set consisting of 4 silicone stamps with different designs and the corresponding plastic handles is perfect for conjuring up unique effects on your chocolates. Try it out and add a creative touch to your chocolates. You'll amaze your loved ones!
