Blog Navigation

Latest posts

Kinderriegel Rezept zum Nachmachen
0 Liked

Welches Kind liebt schon nicht Kinderschokolade? Deshalb haben wir uns gedacht, dass wir Dir heute zeigen, wie...

Read more
Aperitif carrots filled with a salmon filling
4 Liked

Are you still looking for a great Easter roll appetiser idea for your Easter brunch? Then our carrot savoury snacks...

Read more

Make your own chocolates


Mould your own chocolates - step by step

The art of making chocolates is a true delight for all the senses and offers a multitude of creative ways to express yourself. Whether you are an experienced chocolatier or taking your first steps into the realm of chocolate, making moulded chocolates is a rewarding and enriching experience.
Moulding chocolates allows you to create exquisite chocolate creations in a variety of shapes and sizes. You can let your imagination run wild and make beautiful chocolates in flower, animal or even geometric shapes. The possibilities are endless!
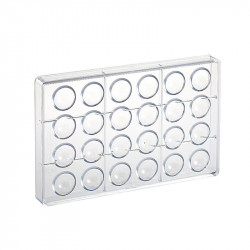
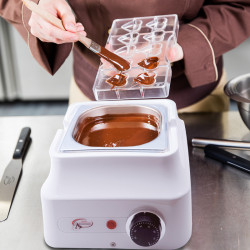
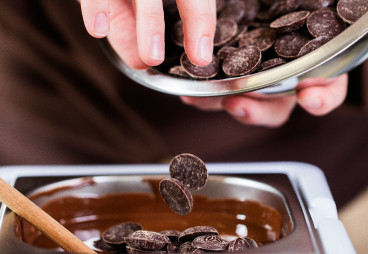
Making moulded chocolates is another exciting step in your journey as a home chocolatier. All you need are professional polycarbonate moulds and perfectly tempered couverture. The gloss and perfection you see in moulded chocolates is the result of precision and dedication. You need to make sure that the couverture is tempered correctly to achieve the desired structure, texture and beautiful lustre. This requires patience and an eye for detail, but the effort is worth it when you take the beautiful, shiny chocolates out of the mould and can present them with pride. To make the whole process easier for you, we also have a detailed blog post for you in which we explain the correct tempering process step by step.
The great thing about moulding your own chocolates is not only the opportunity to improve your culinary skills, but it also gives you room for creative self-expression. The freedom to combine different ingredients, colours and shapes allows you to create unique masterpieces that reflect your personality. Among other things, you can paint, sprinkle or airbrush the moulds with colourful cocoa butter paint or powder your chocolates with metallic glitter paints after moulding. Whether you are making chocolates for family celebrations, anniversaries or simply as a special gift for your loved ones or even for yourself, the love and care that goes into every praline will be reflected in every bite.

Most important key data

Quantity: 24 pieces

Difficulty level: Medium

Shelf life: 1 month

Fruit ganache

Whole cream40 g
Glucose10 g
Sorbitol5 g
Butter5 g
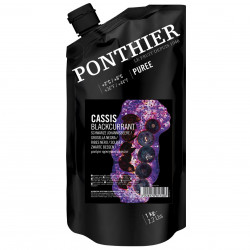
Fruit puree of your choice40 g
Couverture | white140 g

Chocolate shell

Couverture | dark, tempered600 g
Cocoa butter coloursLittle

Making the fruit ganache

Place the white couverture drops in a metal bowl and boil the remaining ingredients together in a small pan (we used cassis puree, but you can use any other puree that you like better). Then pour the hot mixture over the couverture drops and leave to melt for approx. 1 minute.
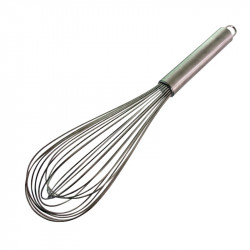
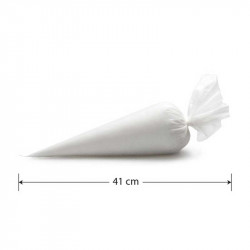
Then mix everything with a whisk until you have a homogeneous mixture. Pour the finished ganache into a piping bag and leave to cool at room temperature for approx. 20 minutes.
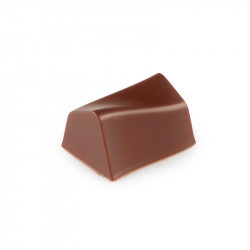
Making the chocolates

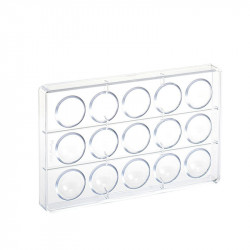
Thoroughly polish the praline mould with a kitchen towel. This will make the chocolates shine even more after moulding.

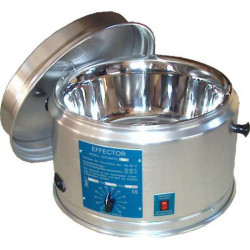
Place the cocoa butter colour in a water bath (no warmer than 40 ºC) and then pour some of the melted cocoa butter colour into a small bowl.

Now sprinkle the mould with the cocoa butter paint. This works best with a silicone brush. However, you can also colour the mould with your fingers or other objects to create an interesting texture or pattern. Leave the paint to set at room temperature for approx. 5 minutes and then scrape the surface of the polycarbonate mould with a metal horn to remove the remaining paint.

Then brush the mould with dark tempered couverture. It is best to use a silicone brush for this, as it does not lose any hairs and you therefore do not run the risk of not finding any hairs in your chocolates. Scrape the mould again with a metal horn to make sure the surface is nice and clean.

Then pour the tempered couverture into a piping bag and fill each mould cavity completely with the liquid chocolate.

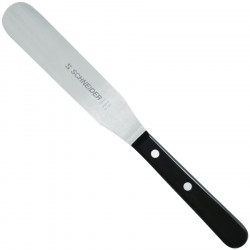
Now tap the mould several times on your work surface to eliminate any air bubbles and then empty the couverture back into the container. Use the back of a spatula to tap against the sides of the chocolate mould, rotating it slightly to ensure that the chocolate layer is as thin and even as possible.

Then remove the mould again to clean it and place it in the fridge for approx. 10 minutes. As soon as the couverture has set, you can pour the now cooled ganache into the pre-moulded praline shells. Just leave about 2-3 mm of space to the surface, as the chocolates still need to be sealed. Before you can seal them, however, you must leave the chocolates at room temperature for at least 2 hours so that the ganache forms a light skin. This makes the chocolates much easier to seal. If you don't have the time or patience, you can simply put the mould in the fridge for 30 minutes.

As soon as the praline filling has a skin, you can add the tempered couverture on top (preferably with a piping bag again), tap the mould on the work surface again so that the chocolate is evenly distributed and then scrape off the excess chocolate with a metal horn. This will also make it easier and cleaner to get the chocolates out of the mould at the end.

Finally, place the mould in the fridge for 30 minutes.

After the chilling time, you can take the chocolates out of the fridge and turn them out onto your worktop with a bit of vigour. The chocolates will practically come out of the mould on their own. If a few individual pralines stick to the mould, you can tap them a little more or put the mould back in the fridge for another 5 minutes.

Storage & shelf life

If you have sealed your chocolates well and there is no filling visible, they will keep for up to a month. It is best to store them in a box of chocolates at room temperature.

Nutrition declaration per 100 g

Energy value in kJ: 2086 kJ | Energy value in kcal: 501 kcal | Fat: 33 g, of which saturates: 21 g | Carbohydrates: 44 g, of which sugars: 41 g | Protein: 6 g | Salt: 0 g


Leave a comment

Security code