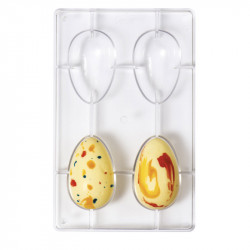
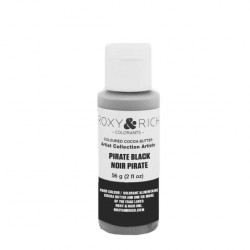
With one mould, the principle is relatively similar to two moulds that are clamped together. You have to polish them thoroughly beforehand, decorate them with the liquid cocoa butter colours and then brush them with tempered couverture.
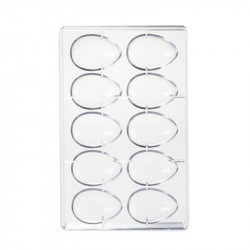
Now it's time to mould. Fill the individual mould completely to the brim with couverture. Then tap the chocolate egg mould briefly with a spatula so that the air bubbles rise to the top.
Now empty the couverture completely back into your container. While emptying, tap against the edge of the mould and make circular movements so that the chocolate flows out evenly.
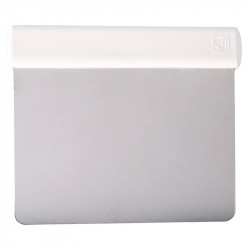
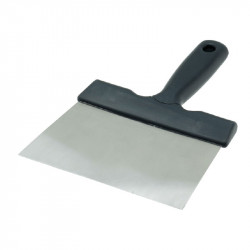
Use a metal spatula to scrape over the bottom of the rim to remove the excess couverture and clean the mould.
Now place the mould with the opening facing downwards on a baking tray lined with baking paper. This allows a slightly wider edge to form, which is very helpful when sticking the cake together. Place the tin in the fridge for 15-20 minutes.
As soon as the cooling time is over, you can boil water in a pan and place a cake tin on top.
Remove your homemade egg half shells from the mould. Fill two of the four half shells with marshmallows, sprinkles, chocolates, jelly babies or simply a personalised letter. Briefly press the top half of the shell onto the heated cake tin to slightly melt the edges and then place this half on top of the already filled bottom half of the egg.
You now have a beautiful, homemade surprise egg for Easter!



































Leave a comment