Once the two parts of the mould have been cleaned well, you can now place them on top of each other. Make sure that there is nothing in between that could prevent them from fitting together perfectly. You don't need any additional clamps for this mould as it is fitted with very strong magnets. If both parts fit together perfectly, you can now pour the mould.
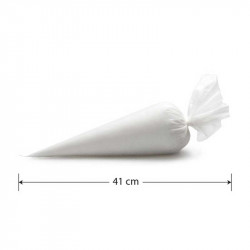
We recommend filling the tempered couverture into the mould using a piping bag.
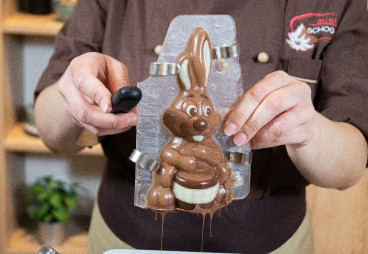
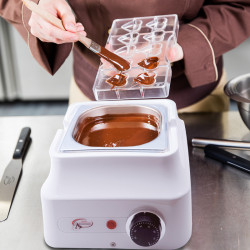
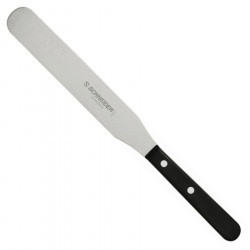
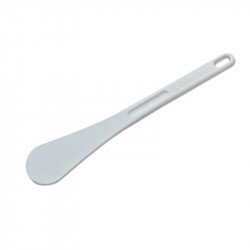
Important: Only fill one half of the mould with couverture first. As soon as the first half is filled with chocolate, you need to tap the edges with a spatula so that the air bubbles rise to the top and you have no air pockets. Then empty the couverture completely back into your container. Tap against the mould again so that as much chocolate as possible can flow out and you get a nice, thin wall. Run a spatula over the edge of the mould once to clean it.
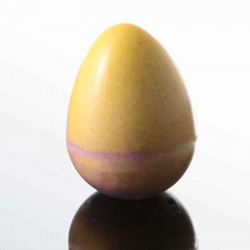
If the openings of the eggs are partially closed, you will need to prick them with the back of a brush or another thin stick. This is usually just an air bubble that you can easily prick open. Repeat these steps for the other half of the egg mould.
Once all the eggs have been poured and the mould has been cleaned, place it in the fridge for a maximum of 5 minutes to allow the chocolate to set. After the short cooling time, it's time to fill the mould.
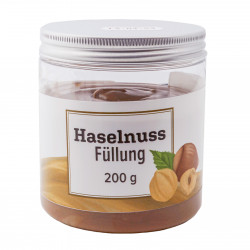
Now you can use the third part of the mould. Place this over the other two parts. We recommend that you only use this part for filling. You can now fill the Easter eggs with any filling you like. We have opted for a hazelnut filling, but you can of course also use a classic ganache, caramel or any other filling. The only filling we don't recommend is liqueur, as this is too runny.
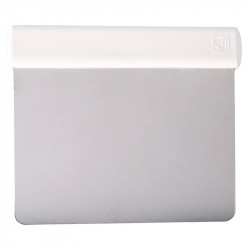
Now everything is actually the same as with normal hollow ball moulds. Fill the filling only up to the bottom edge of the opening of the third part of the mould. Once all the eggs have been filled, you need to seal the eggs with tempered couverture. To do this, simply add a small drop of couverture to each egg. Once they are all sealed, scrape over the mould once with a metal horn so that the couverture is evenly distributed and then immediately release the third part of the mould.
Now tap the mould a few times on the base so that the couverture spreads a little and then place the chocolate mould in the fridge for 20-30 minutes.
As soon as the time is up, you can take the eggs out of the fridge, carefully drive a spatula into the joint and separate the upper part from the lower part of the mould. Now all you have to do is remove the eggs from the mould and enjoy!
Have fun making them!




































Leave a comment