Blog Navigation

Latest posts

Kinderriegel Rezept zum Nachmachen
0 Liked

Welches Kind liebt schon nicht Kinderschokolade? Deshalb haben wir uns gedacht, dass wir Dir heute zeigen, wie...

Read more
Aperitif carrots filled with a salmon filling
4 Liked

Are you still looking for a great Easter roll appetiser idea for your Easter brunch? Then our carrot savoury snacks...

Read more

Hüppen - for that certain something

1 Liked
1 Comment
★★★★★ (5.0)
 

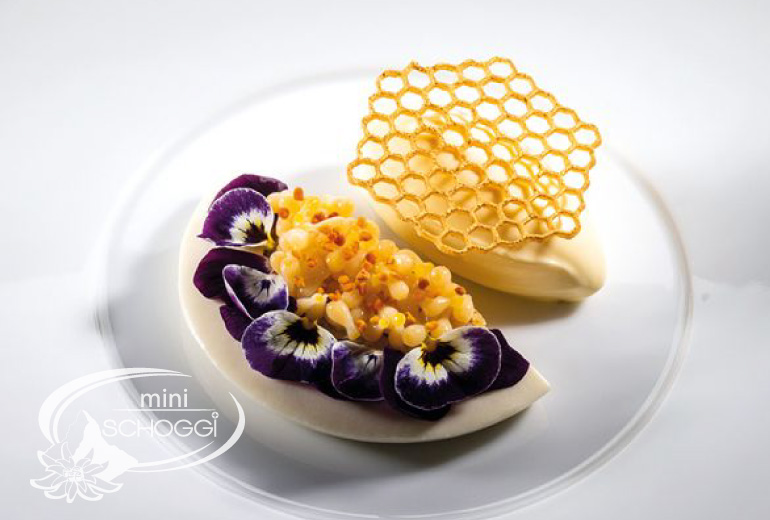
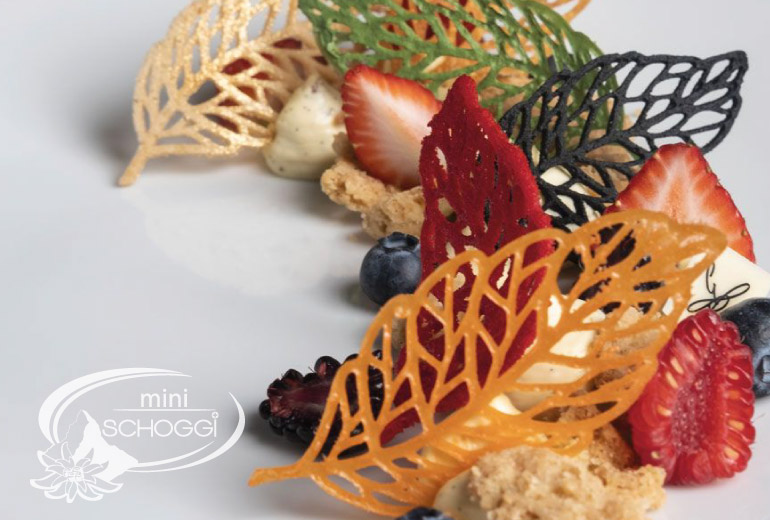
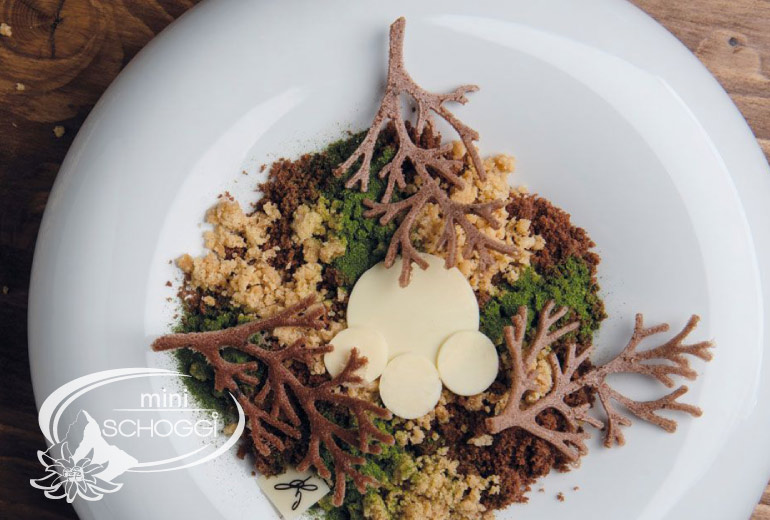
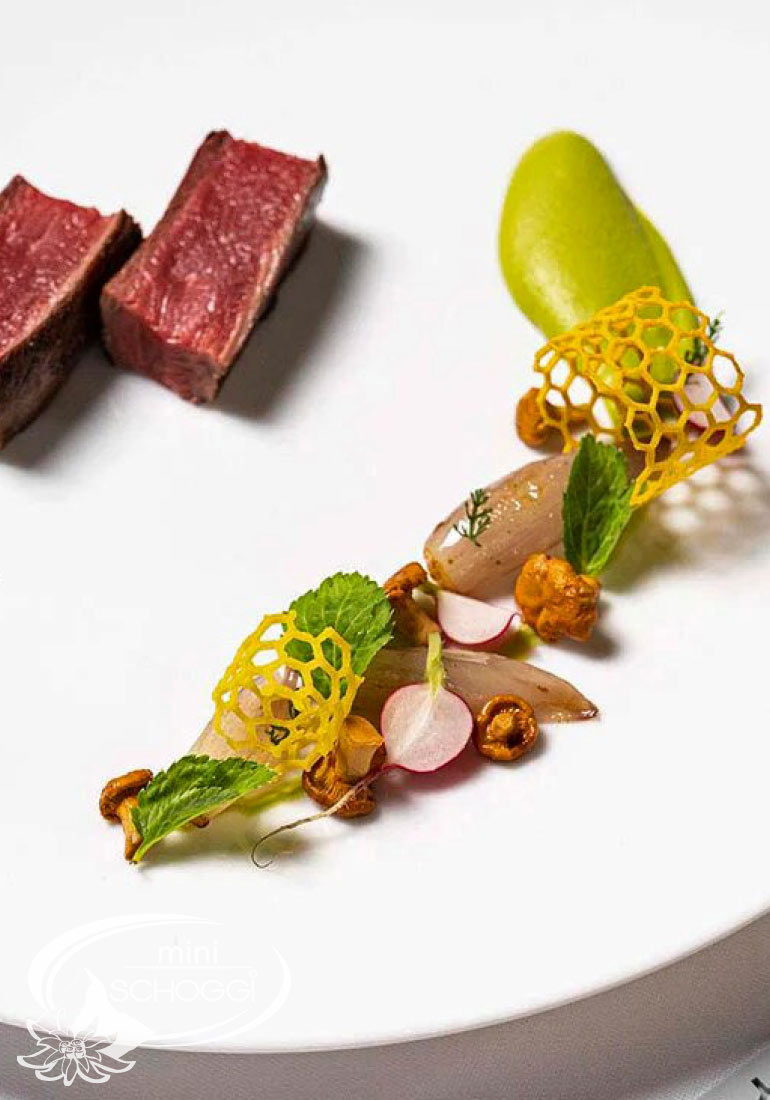
Hüppen - a beautiful eye-catcher

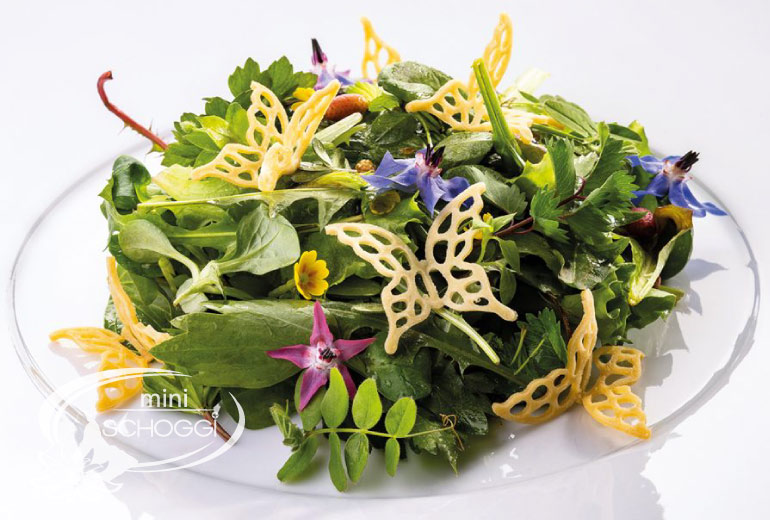
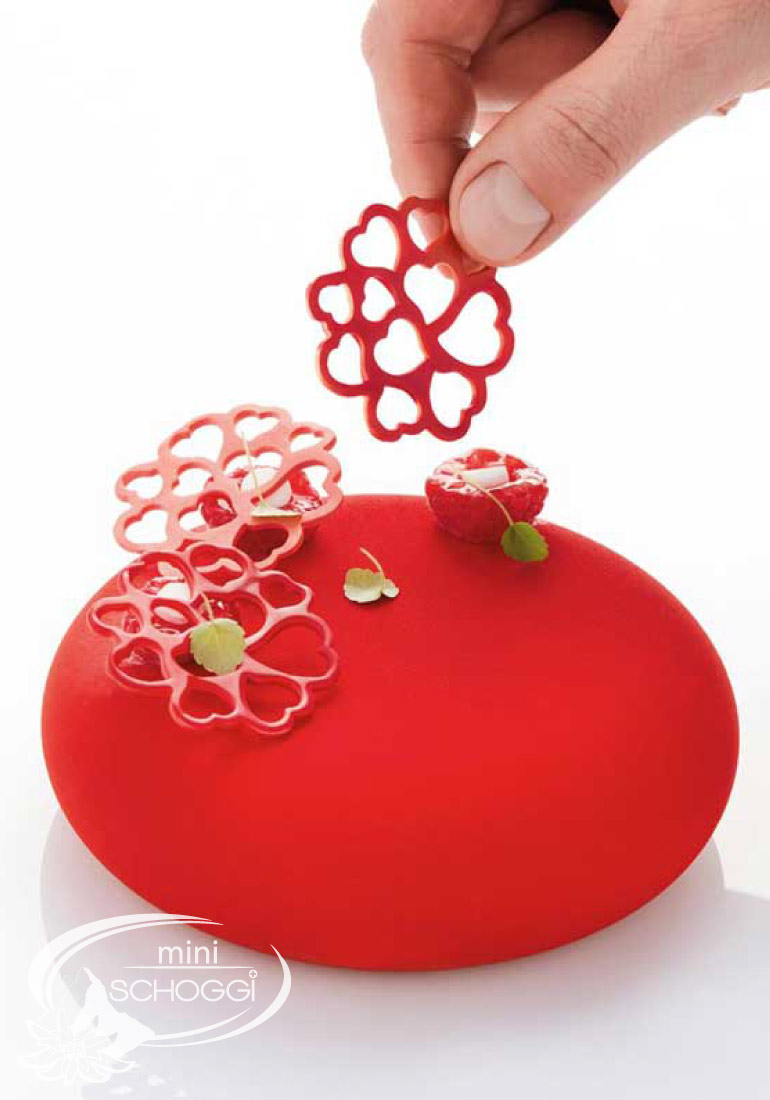
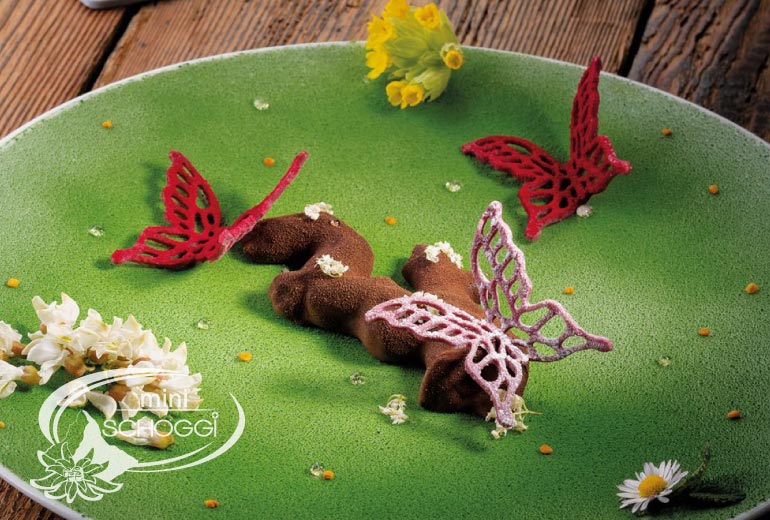
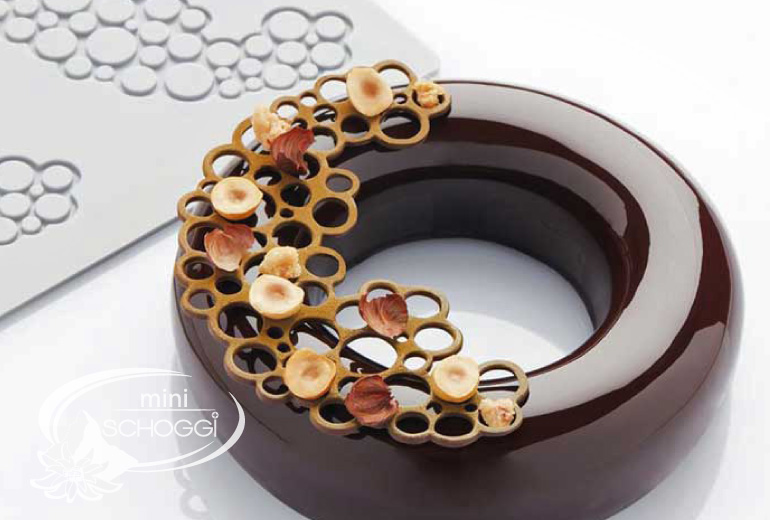
A delicious meal has already been prepared with love, but the sparkling magic is still missing, that special something that transforms every dish into a true masterpiece. No problem! Because these enchanting Hüppen, which can adorn both sweet and savoury creations, are the perfect solution. Whether for salads, soups, main courses or desserts - with these delicate decorative elements, every plate can be transformed into an artistic composition. In just a few simple steps, you can create enchanting, edible works of art that lend your dishes a magical elegance. Your guests will not only love the flavour, but will also be enchanted by the beauty of your creations. Give free rein to your creativity and add a touch of sophistication and grace to your menu.

Most important key data

Quantity: enough for 3 Hüppenmatten

Baking time: approx. 10 minutes

Baking temperature: 170 °C fan oven

Level of difficulty: Easy

Shelf life: 1 month at room temp.

Base dough, chocolate

25 g Protein
12 gSugar
12 gButter | liquid
20 gFlour
2 gCocoa powder

Base dough, vanilla

25 g Protein
12 gSugar
12 gButter | liquid
20 gFlour
1Pinch of vanilla seeds

Basic dough, savoury

30 g Protein
15 gButter | liquid
25 gFlour
Lemon zest (n.Geschmack)
5 g
Vegetable powder
(replaces 5 g flour)
optional

ProGel food colouring
(add a dab at a time)

Making the sweet base dough

Preheat the oven to 170 degrees fan. While the oven reaches operating temperature, you can continue with the preparation.

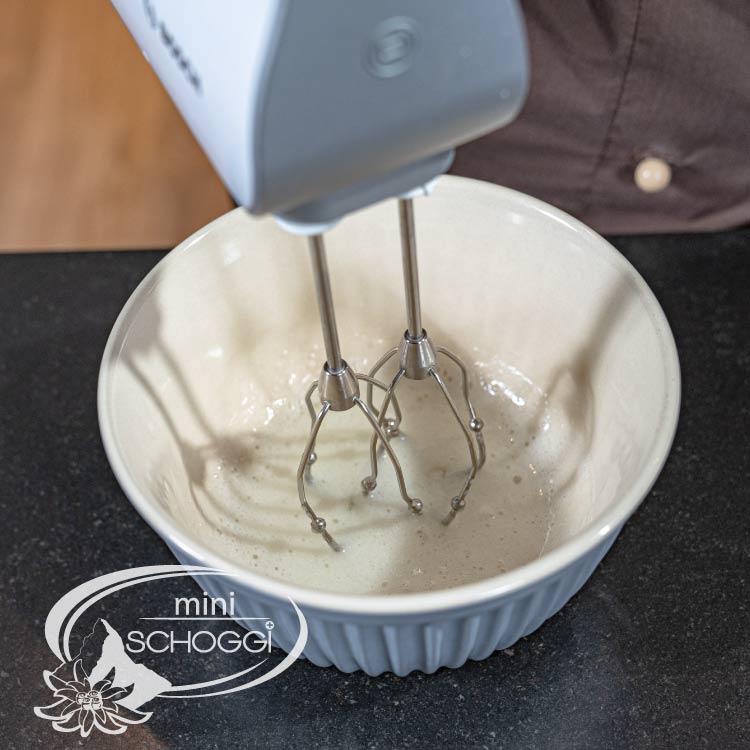
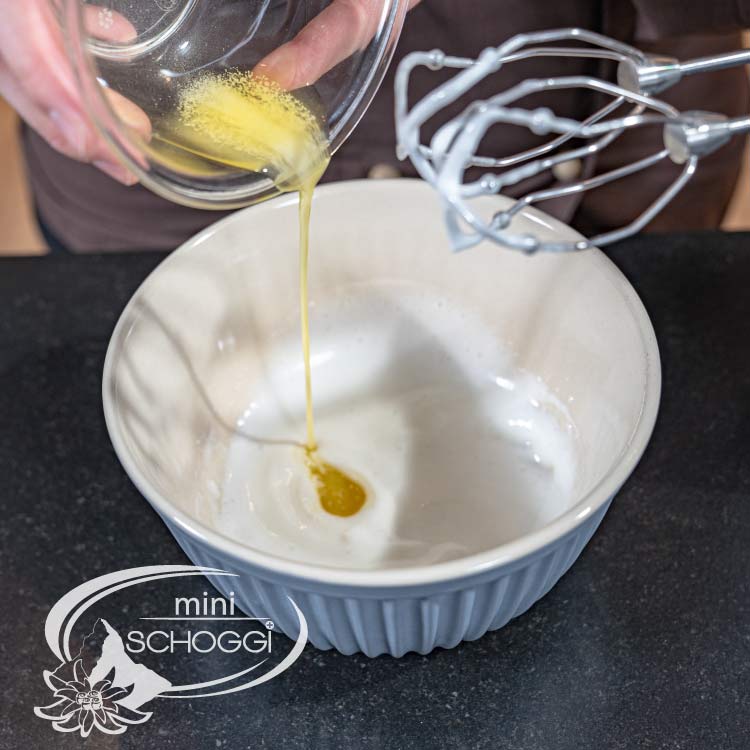
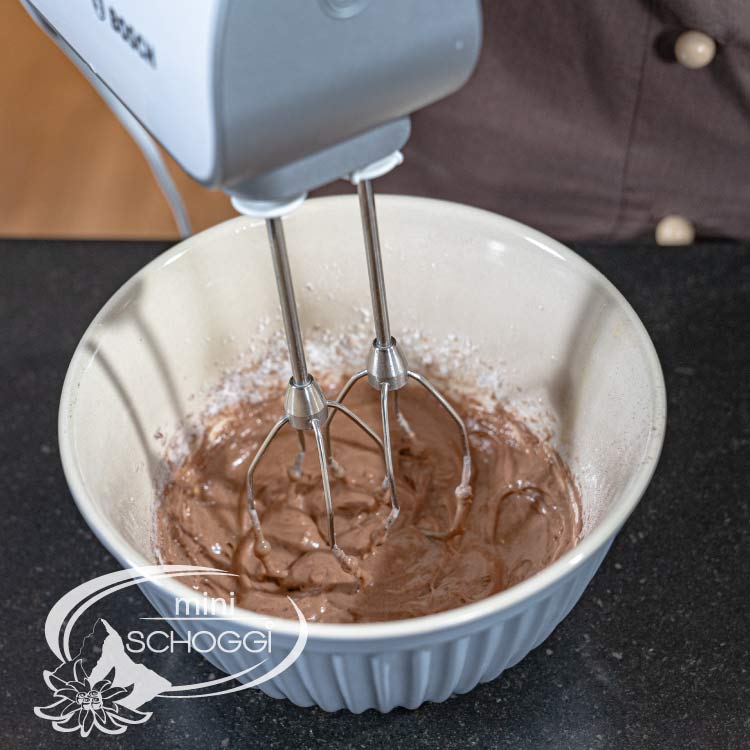
Firstly, separate the egg whites from the egg yolks and place them in a clean, dry mixing bowl. Make sure that there is no trace of egg yolk in the egg whites, as this could affect the foaminess. Then start beating the egg whites with a hand mixer or food processor at medium to high speed. After a short time, you will notice that the egg whites start to become a little firmer. As soon as it starts to form light bubbles, slowly add the sugar. As soon as the mixture has reached a frothy consistency (egg whites do not have to be beaten completely stiff, just frothy), take the melted butter and carefully fold it into the egg whites.

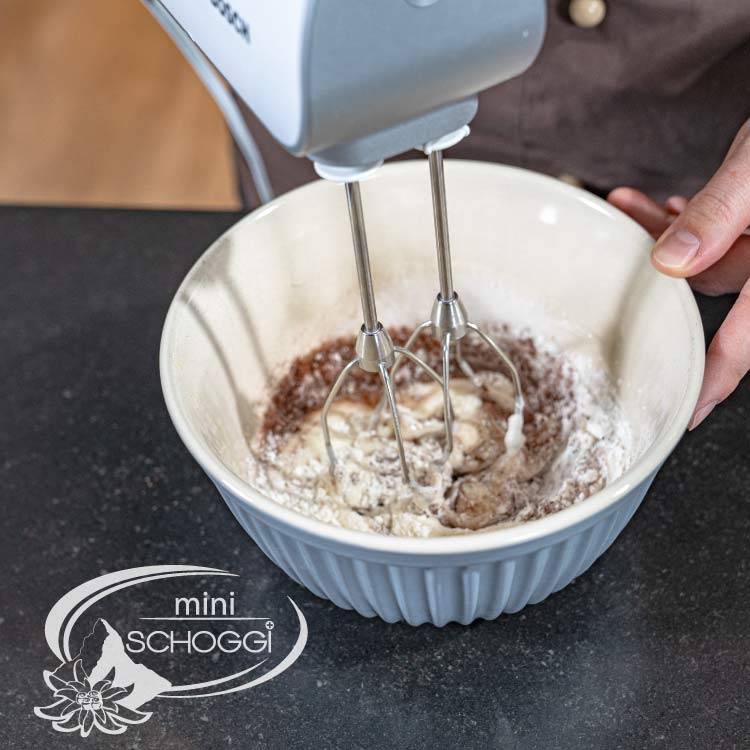
Now slowly add the flour and cocoa powder to the mixture. Start stirring the ingredients in carefully to ensure that no lumps form. Make sure that the cocoa powder is evenly distributed so that the full flavour can develop later.

Continue stirring until the mixture reaches a creamy but slightly runny consistency. It should be smooth and even, with no large lumps or dry flour residue visible. The texture should be such that you can easily spread the mixture with a spatula - neither too firm nor too runny.

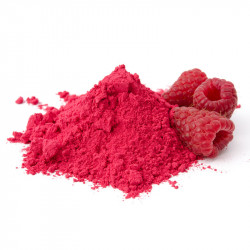
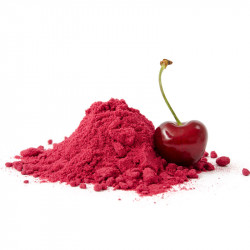
If you prefer the fruity version, leave out the cocoa powder and add the fruit powder of your choice instead. If you want even more vibrant and intense colours, you can now also add food jelly colours (such as ProGel). Add just a small dab at a time and stir the mixture gently until the desired depth of colour is achieved. The ProGel colours are very intense, so use sparingly so as not to overdo the colour.

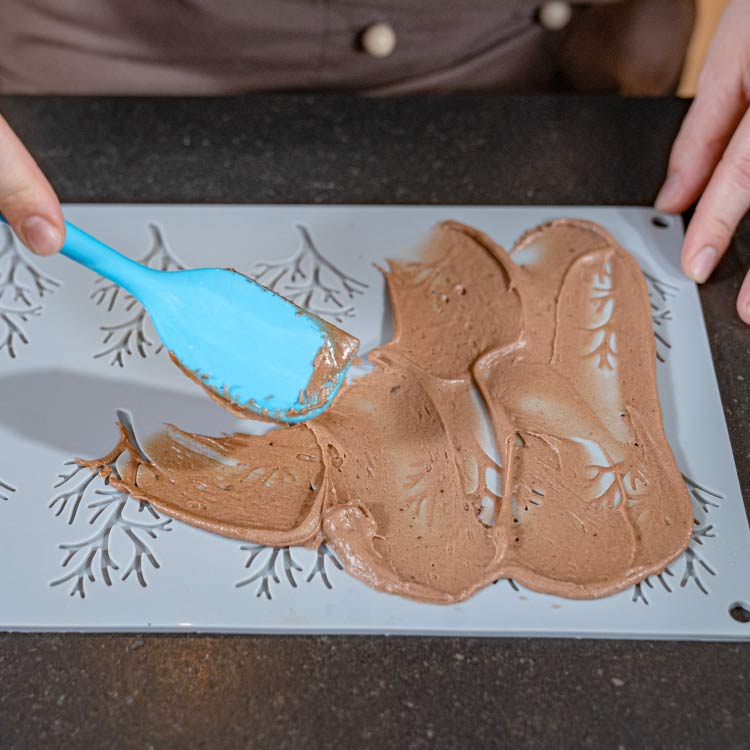
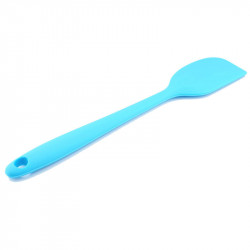
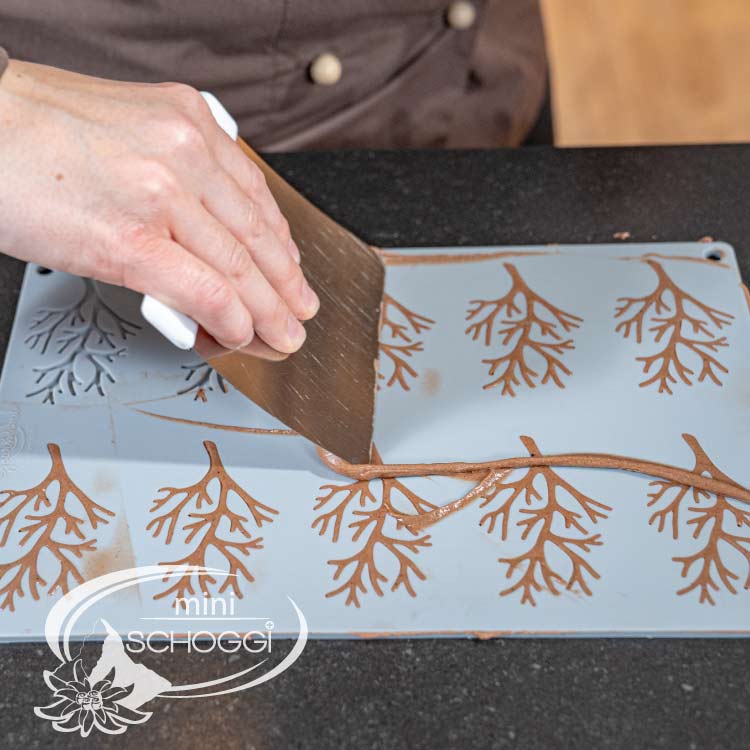
Now you can pour the prepared mixture onto the Hüppenmatte. Use a rubber scraper to pour the mixture evenly and carefully into the hollows of the silicone mould. The rubber scraper is particularly suitable as it is flexible and helps you to fill the mixture precisely into the mould without using too much force. Make sure that you fill the moulds completely, but do not overfill them, as the mixture can still rise slightly during baking. If you are filling several moulds, work calmly and evenly to achieve a uniform result.

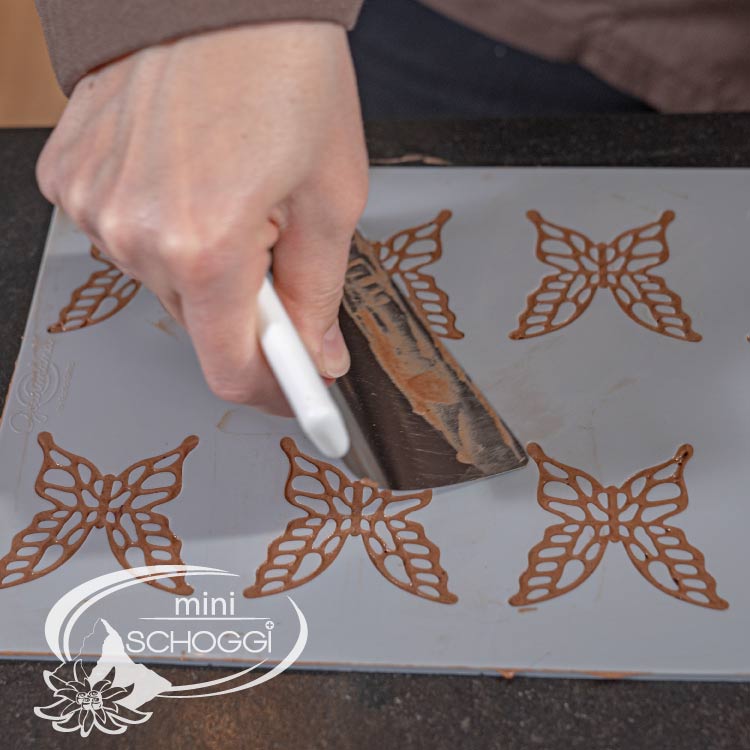
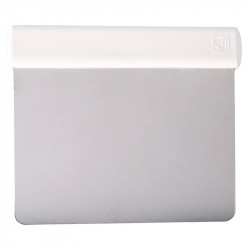
Once you have poured the mixture into each cavity of the mould, use an angled spatula or a metal horn - both will help you to remove the excess mixture cleanly. The angled spatula is particularly suitable for removing the mixture from the surface of the mould in one even stroke so that the cavities are evenly filled without any excess mixture on top. If you use a metal horn, you can also scrape off the excess paste in a fine, controlled pull to achieve a smooth, even surface. Both tools ensure that you can optimally shape the bumps in the mould and that the motifs are filled cleanly and precisely.

Once you have perfectly levelled the mould and removed any excess mass, you can carefully lift the Hüppen mat and place the Hüppen in the preheated oven. Make sure that the oven has reached the right temperature - 170 degrees fan - and place the silicone mould on a stable rack or baking tray in the middle of the oven. The Hüppen now need about 10 minutes to bake.

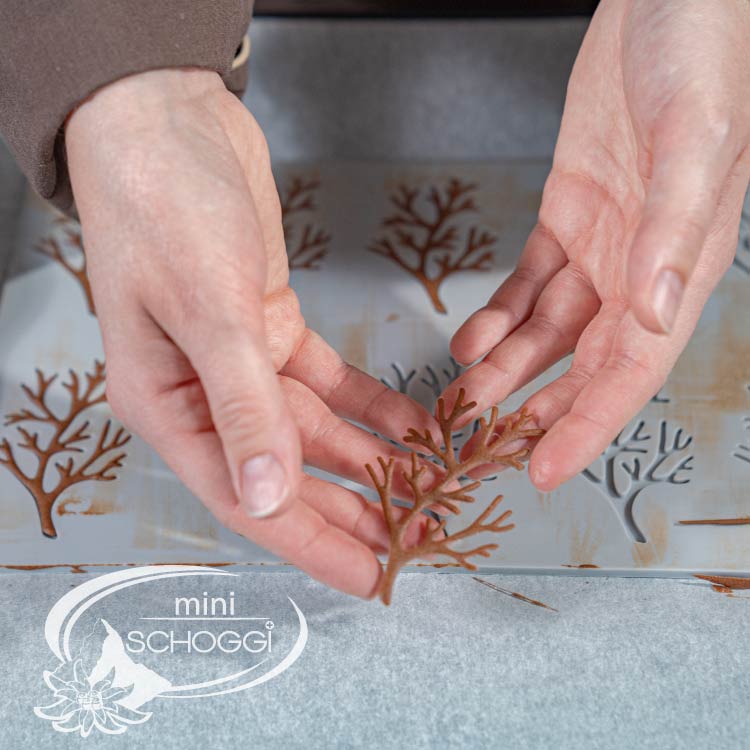
Allow the motifs to cool well before removing them from the mould. This will prevent the motifs from breaking. If you want to shape the finished Hüppen, you can of course carefully remove them from the mould and place them in a baguette tray or bowl, for example. The motifs need at least an hour to dry so that they take on their shape. It is best to leave them overnight so that the motifs are securely fixed. These motifs are guaranteed to be an eye-catcher on your delicious food.

These sweet little works of art can be stored airtight in a cookie tin for up to a month. So you always have them to hand to decorate your dessert.

Making the savoury base dough

Beat the egg whites until frothy and then add the melted butter. If you like, you can also add a little lemon zest to give the mixture a fresh, slightly fruity flavour. Now is the time to add the flour.

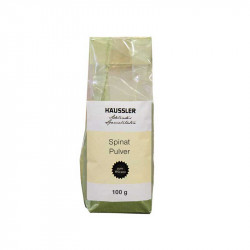
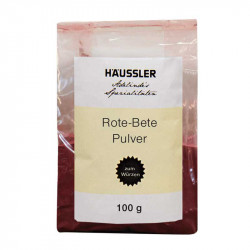
If you want to add a special flavour to your pastry, now is the time to add your desired vegetable powder. If you want an exciting colour or a special flavour, such as a strong beetroot powder for a pink hue or spinach powder for an intense green, you can fold it in now. These powders not only add a pretty colour, but also an additional complexity of flavour.

If you want even more vibrant and intense colours, you can now also add food jelly colouring (such as ProGel). Add just a small dab at a time and stir the mixture gently until the desired depth of colour is achieved. The ProGel colours are very intense, so use sparingly so as not to overdo the colour.

The beautiful eye-catchers can be stored in an airtight tin for up to a month. This means you always have them to hand to add a touch of magic to soups, salads or main courses.
Storage & shelf life

These wonderful decorations, both sweet and savoury, can be kept for up to a month in an airtight biscuit tin.


Leave a comment

Security code

Comments

  • Hüppenmatten
    By: Astrid Tiefenauer On 2025-03-22
    Rating:
    ★★★★★ (5.0)

    Das Rezept sieht sehr gluschtig aus. Vielen Dank dafür! Kann man diese Matten evtl. auch für Schokodekos brauchen? Wenn ja, wie ist das Vorgehen dann?

    Besten Dank für eure tollen Inputs.

    Astrid Tiefenauer

    Replied by: Thomas Ramseier On 2025-03-26 Hallo Astrid
    Sehr gerne doch, es freut uns sehr, dass es dir gefällt! Für Schokoladendekorationen sind die Muster etwas zu fein leider.
    Süsse Grüsse von Deinem miniSchoggi-Team