Blog Navigation

Latest posts

Kinderriegel Rezept zum Nachmachen
0 Liked

Welches Kind liebt schon nicht Kinderschokolade? Deshalb haben wir uns gedacht, dass wir Dir heute zeigen, wie...

Read more
Aperitif carrots filled with a salmon filling
4 Liked

Are you still looking for a great Easter roll appetiser idea for your Easter brunch? Then our carrot savoury snacks...

Read more

Edible flower pots with buttercream flowers


Colourful flowerpot cupcakes

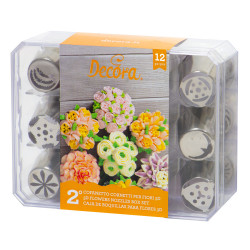
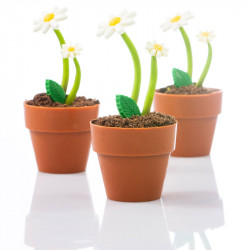
Now in spring, the flowers are slowly beginning to bloom and breathe new life into nature. Trees are turning green again and meadows are becoming colourful once more. This not only pleases the animals, but also us humans. We have come up with a little treat to suit the season. A juicy carrot cupcake disguised as a colourful flower pot! Many people are afraid of buttercream flowers because they don't know how to make them. Here we show you how to conjure up beautiful flowers with the help of Russian nozzles. You don't have to pick any flowers and everything is completely edible, so you don't have to throw away anything that has wilted. However, these flower pots probably don't last quite as long as cut flowers, as they are super tasty and eaten up far too quickly. But the best thing about these edible flower pots is that you really don't need green fingers to make them, just a bit of skill and the right equipment!

Most important key data

Quantity: 12 pieces

Baking time: approx. 25 minutes

Difficulty level: Medium

Shelf life: 5 days

Carrot cupcake recipe

Whole egg | whisked egg50 g
Granulated sugar150 g
Sunflower oil100 g
Crème fraîche200 g
Carrots | shredded320 g
Ginger pieces | candied10 g
White flour200 g
Baking powder 8 g

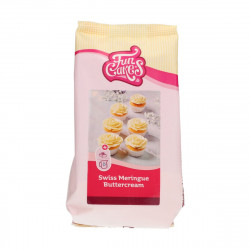
Swiss Meringue Buttercream

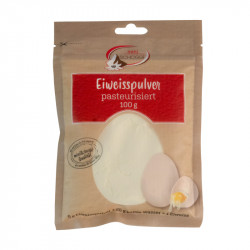
Protein powder | pasteurised17 g
Water | cold85 g
Granulated sugar240 g
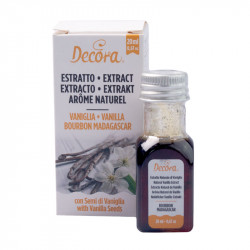
Vanilla extract or flavouring1 TSP
Butter | soft340 g
ProGel coloursas required

Making the carrot cupcake

First preheat the oven to 160°C fan-assisted, so that it is at the right temperature when you want to bake the dough.

For the batter, beat the eggs with the granulated sugar until foamy. Now add the sunflower oil and crème fraîche to the foamy mixture and mix in thoroughly. Now you can also add the grated carrots and ginger to the mixture and carefully fold in. Next, you can mix the flour with the baking powder and then add it to the mixture and mix until you have a homogeneous mixture.

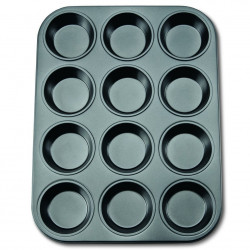
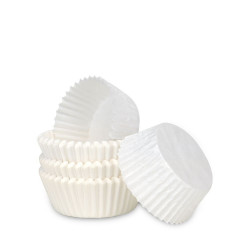
Finally, divide the batter evenly into the muffin cases (approx. 85 g per cupcake) and place the cupcakes in the preheated oven for approx. 25 minutes. Then leave them to cool sufficiently.

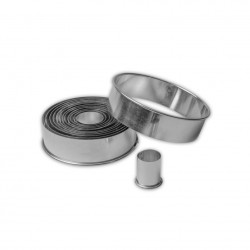
To prepare the cooled cupcakes perfectly for the flower pots, you need to cut them out with a suitable cutter. You can crumble the leftover batter from the cupcake onto the base of the pot (muffin base, so to speak) and then place the cut-out cupcake on top. This way you won't waste any food, you'll have a nice smooth surface on top and the cupcake will be the ideal height for the chocolate pot.
Making the Swiss Meringue buttercream

Mix the egg white powder with the cold water and leave to soak in the fridge for approx. 20 mins. until there are no more lumps. Then add the sugar to the egg white.

At the same time, you can bring water to the boil in a pan and use the steam to heat the sugar and egg white mixture and make it smooth and soft. Make sure that the mixture does not get too hot and that all the sugar crystals dissolve. As a test, you can put your finger in the mixture and rub the egg white between your two fingers. If you can still feel the sugar crystals, you need to heat the mixture a little more; if everything is nice and smooth, you can move on to the next step.

Beat the egg whites until stiff using a hand mixer or food processor. Once the mixture is stiff, you can now add the vanilla essence and butter. The butter has a big influence on the consistency of the finished cream, so it is important that it is neither too hard nor too soft. But don't panic if you realise that there are still lumps of too hard butter in the cream at the end or that the cream is too runny. The consistency can also be easily corrected afterwards by either reheating the cream with a little steam or placing it briefly in the fridge, as required. The buttercream should have a smooth, yielding but not too soft consistency. When the cream is ready, you can now divide it into different bowls and colour it. Take a separate bowl for each colour you want to use. If you are working with the gel colours, it is best to use a little less colour at the beginning and add more if necessary. The gel colours are very concentrated and opaque.

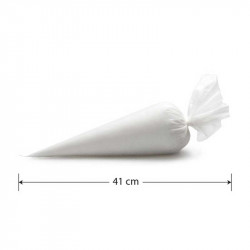
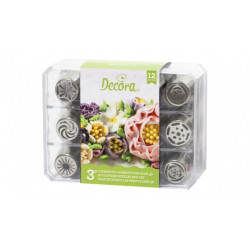
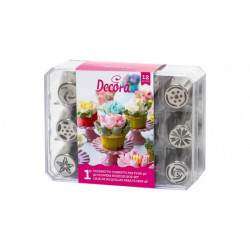
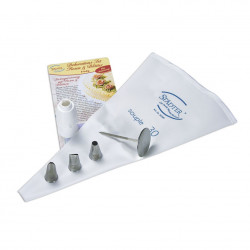
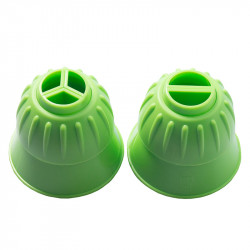
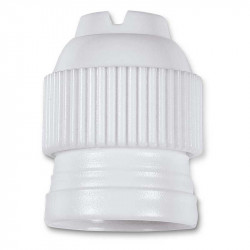
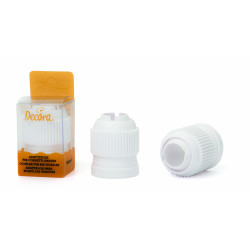
Now you can prepare the piping bag and the nozzles. We recommend using suitable adapters so that you can change the nozzles during the piping process if you want a different flower in the same colour.

Lay out a piece of cling film and spread the buttercream colour you would like to have on the outer edge of the flower in the shape of a rectangle. For the heart of the flower, place the corresponding buttercream in a line on the centre of the buttercream you have already spread (see video 14:00 min.). Roll up the cream using the cling film so that the mixture looks like an elongated roll and the colour for the centre of the flower is also enclosed in the middle. The cling film should go around the roll so that the shape is retained. You can either leave the two short ends open or twist them closed and then cut open only the side that faces the nozzle and from which the buttercream comes out before placing it in the piping bag. Place the roll lengthways into the piping bags already fitted with the adapter and nozzle.

To pipe the flowers, hold the nozzle perpendicular to the surface, stay there for a moment so that the buttercream can bond with the surface and then slowly pull the piping bag with the nozzle upwards with even pressure. At the end, simply remove the nozzle carefully by pulling it upwards. It is best to practise first on a piece of paper or cardboard or similar. Once you have piped the flowers onto the cupcakes, you can place the leaves between the flowers to cover up any gaps and add even more colour to the pot. Now your flower pot is ready! Be careful not to place it in the sun or in places that are too warm, otherwise the buttercream (and the flower pot) may melt and the flowers may no longer be recognisable as such!
Bon appétit!

Storage & shelf life

The finished cupcakes will keep for approx. 5 days in the fridge.
Nutrition declaration per 100 g

Energy value in kJ: 1566 kJ | Energy value in kcal: 369 kcal | Fat: 3 g, of which saturates: 2 g | Carbohydrates: 1 g, of which sugars: 1 g | Protein: 83 g | Salt: 1.33 g


Leave a comment

Security code