Blog Navigation

Latest posts

Kinderriegel Rezept zum Nachmachen
0 Liked

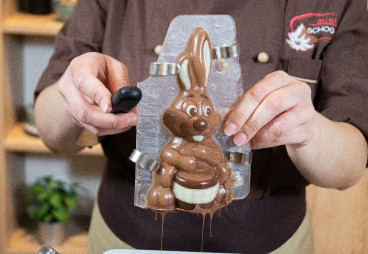
Welches Kind liebt schon nicht Kinderschokolade? Deshalb haben wir uns gedacht, dass wir Dir heute zeigen, wie...
Read more
Aperitif carrots filled with a salmon filling
4 Liked

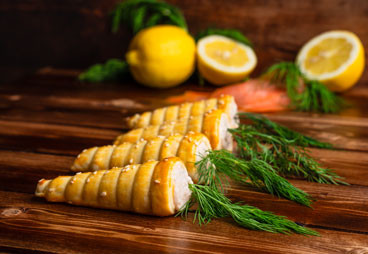
Are you still looking for a great Easter roll appetiser idea for your Easter brunch? Then our carrot savoury snacks...
Read more

Drip Cake


Playful cakes thanks to drip cake icing

Want to make a unique cake? These cakes will amaze everyone! Drip cake icing cakes are still very popular. They look incredibly beautiful and are very easy to make with the right utensils. To help you succeed, we have baked two beautiful cakes for you here, complete with matching decorations. The actual cake consists of carrot cake and buttercream, but you are of course free to choose a different cake with a different filling. Our main focus here is on the decoration. Variant one of our cakes is full of chocolatey treats that make your mouth water just looking at them. Our second version has a more romantic flavour. Full of colourful roses, the sight is simply melt-in-the-mouth. Every flower lover will be happy here. Even if the cakes look complicated, they are not. Take a look at our video and try it out for yourself! Have fun and bon appétit.

Preparation time

15 min.

Cooling time

60 min.

Decoration time

15 min.

Cake preparation

Ingredients/utensils:

4 pcs. Cake bases

Buttercream

Cake insert strips

2 pcs. Cake rings (same size)

One cake plate per cake

This is how it works: The preparation

  • The cake bases should be the same size as the cake rings and the cake insert strip should ideally protrude several centimetres beyond the edge of the cake ring.
  • Wrap the cake insert strip once around the cake ring and cut off the end so that the cake insert strip overlaps slightly. Do this twice so that you end up with two cut strips.

  • Now place a cake ring on the cake plate, place the cake insert strip on the inside of the cake ring and spread some buttercream in the centre. This will help your cake to stay on the plate and not slide off.
  • Then place the first pastry base in the cake ring and spread your layer of buttercream on top .
  • Of course, you can also use something else, depending on what you want as a filling. But make sure it is stable so that the cake doesn't collapse.
  • Once you have layered enough to go over the first plastic strip, you can now take the second piece and carefully wrap it around the top half of the cake.
  • Using the strip, you can now place the second cake ring over the cake so that two cake rings are on top of each other and provide optimum support for the cake (see video).
  • A little tip: You can clean and reuse the insert strips afterwards.
  • Now place your cake in the fridge to cool down
  • When the cake has cooled sufficiently and is firm, you can carefully remove the cake rings and insert strips.
  • Now fill a piping bag fitted with a piping nozzle with soft buttercream and pipe it evenly around the edge and over the top of the cake.
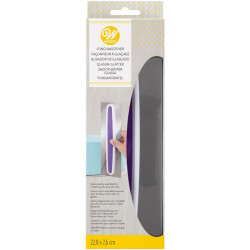
  • Spread the buttercream first with a small spatula, then with an icing smoother that is at least the size of the cake so that it is even. Hold the spatula at a 45° angle to the cake.
  • To remove additional air bubbles from the buttercream, you can heat the icing smoother either with a hot air dryer or with hot water (dry well afterwards) and go over the cake again. Smooth the top from the outside inwards.

Decoration with drip cake

Ingredients:

Pink and/or brown drip cake icing

Chocolate decoration:

Bueno children's bars, Duplos, Mikados, Oreo biscuits, pralines, Lindt couverture

Floral decoration:

unsprayed roses in pink, red and white

This is how it works:

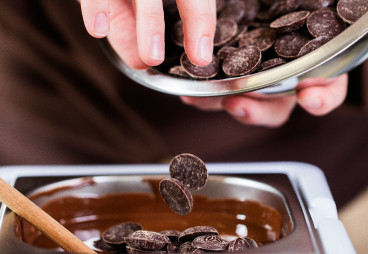
  • Melt the drip cake carefully either in the microwave or in a bain-marie. If you opt for the water bath, dry the bottle briefly afterwards so that the water does not drip onto your cake.
  • Now run the bottle along the edge of the cake and press harder and harder, depending on how much you want the drops to run down, to create a drip pattern.
  • Once you have gone round the cake, you can fill the lid with the icing in circles.
  • Now you can attach the decoration to the cake. For version 1 with dark brown drip cake icing, simply stick a few chocolate bars such as Bueno or Duplo into the cake. We also draped Mikados, Oreo biscuits and chocolates on the cake. We recommend that you check which side of your cake is the prettiest beforehand so that you can always orientate it towards the front. We also set up the decoration so that it is higher at the back than at the front.
  • For version 2, stick (unsprayed!) roses on pink drip cake icing. You can of course also use other flowers, but make sure that they are edible! Do not put any sprayed flowers or flowers that are poisonous to humans in the cake.
  • Your homemade cake is now ready. It's best to put it in the fridge until shortly before eating so that the buttercream doesn't melt. Bon appétit!

If you liked this post, please share it with your friends and follow us on Instagram and Facebook. We would also be delighted if you would leave us a Like or even tag us in your posts if you try out our products or recipes!
Thank you very much!

Your miniSchoggi Team!


Leave a comment

Security code