Easter is not only colourful, but also particularly delicious: these lovingly filled chocolate Easter bunnies conceal...


Easter is not only colourful, but also particularly delicious: these lovingly filled chocolate Easter bunnies conceal...

Do you want to surprise your children with a homemade surprise egg for Easter? These surprise eggs are quick and easy...


 Mould your own chocolate Easter bunnies
Make your own decorative roulade
Cinnamon stars recipe
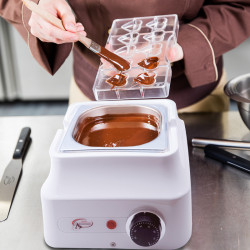
Temper couverture and chocolate correctly
Mould your own chocolate Easter bunnies
Make your own decorative roulade
Cinnamon stars recipe
Temper couverture and chocolate correctly
Leave a comment