Blog Navigation

Latest posts

Kinderriegel Rezept zum Nachmachen
0 Liked

Welches Kind liebt schon nicht Kinderschokolade? Deshalb haben wir uns gedacht, dass wir Dir heute zeigen, wie...

Read more
Aperitif carrots filled with a salmon filling
4 Liked

Are you still looking for a great Easter roll appetiser idea for your Easter brunch? Then our carrot savoury snacks...

Read more

Crunchy peanut and caramel bar


Homemade Snickers bar

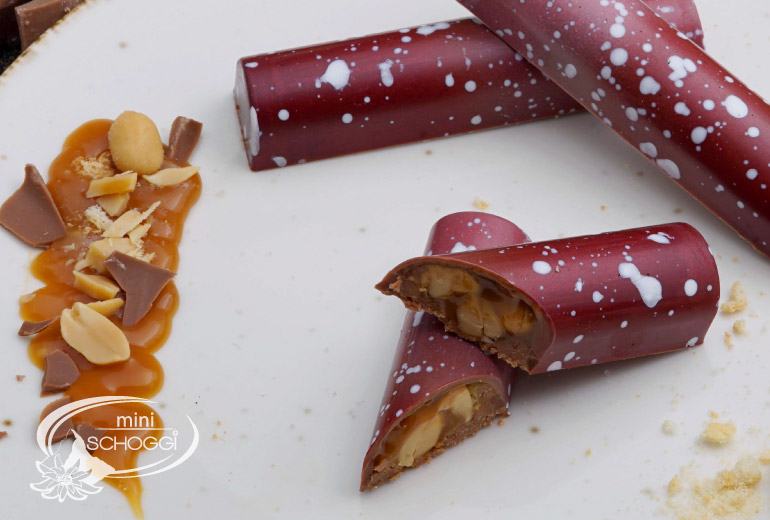
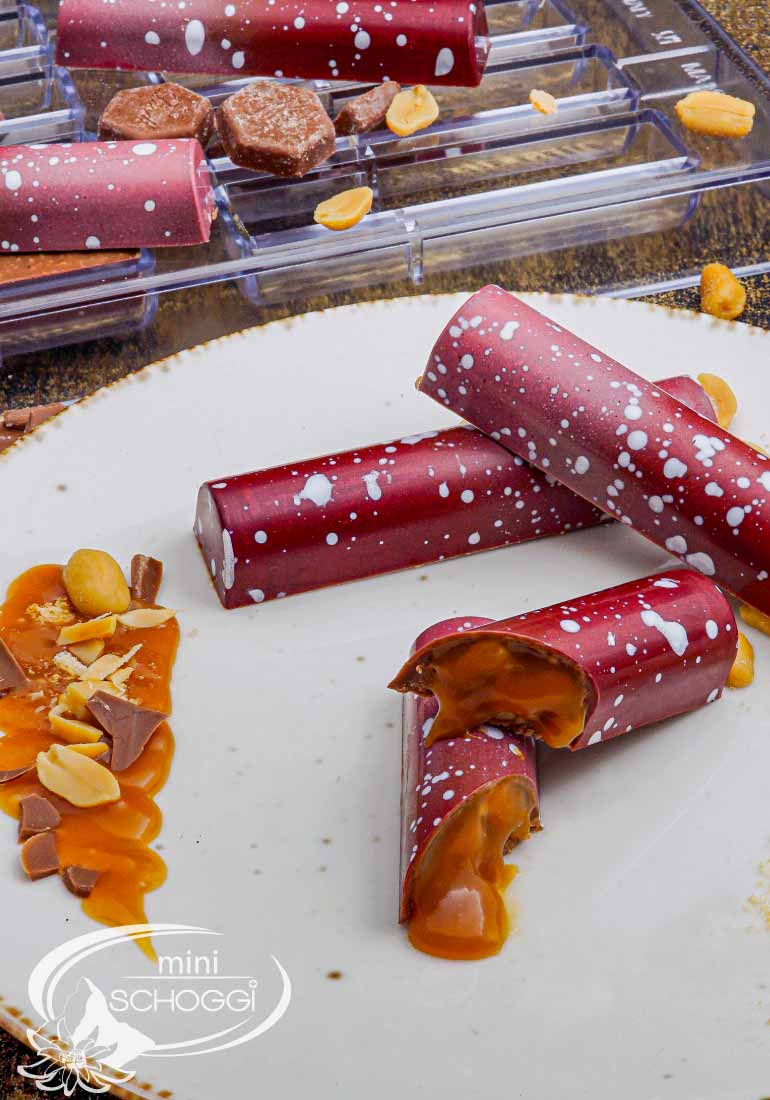
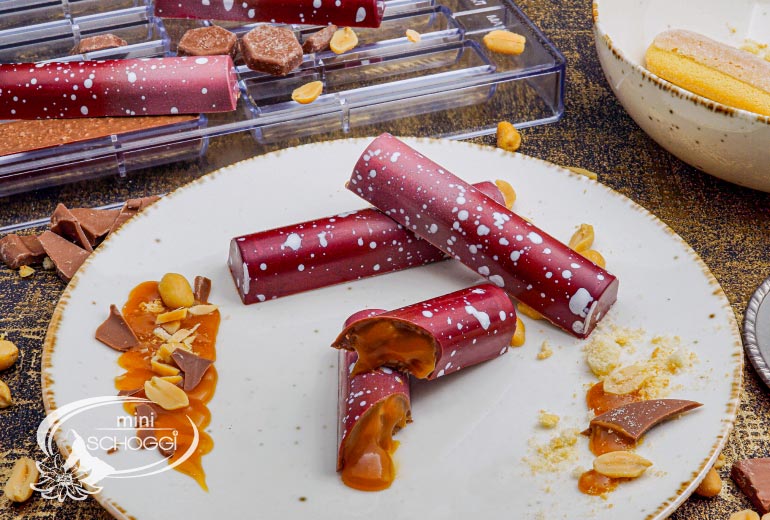
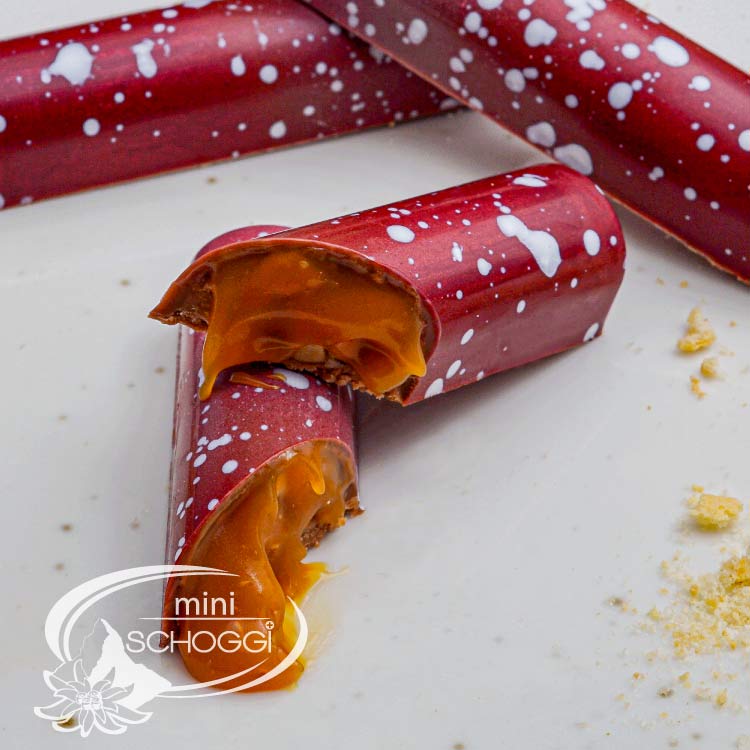
Peanuts, salt, caramel and chocolate - what do you get? Probably one of the best combinations of sweet and savoury that the world has ever known! Precisely because this is such a popular and really delicious combination, we thought we'd make our own creation for you. Of course, you can also buy bars like this in the supermarket, but homemade bars just taste so much better! Quasi Snickers filling to copy! Salted peanuts in a coating of wafer-thin, finest milk couverture in a bed of soft caramel and held by a light sponge base! Is your mouth watering already? Then get in the kitchen and have fun making it!

Most important key data

Quantity: 10 pieces

Preparation time: approx. 25 minutes

Difficulty level: Medium

Shelf life: 2 weeks

Caramel

Granulated sugar140 g
Whole cream170 g
Butter | soft50 g
Fleur de Sel1 pinch

Airbrushing

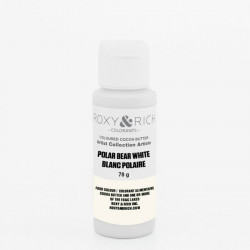
Cocoa butter colour white
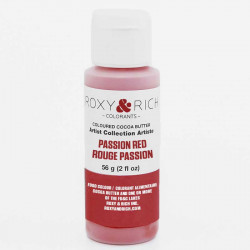
Cocoa butter colour red
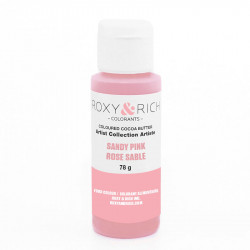
Cocoa butter colour pink

Biscuit base

Butter | liquid25 g
Sponge fingers5 pieces
Milk couverture | tempered300 g

Production of the caramel

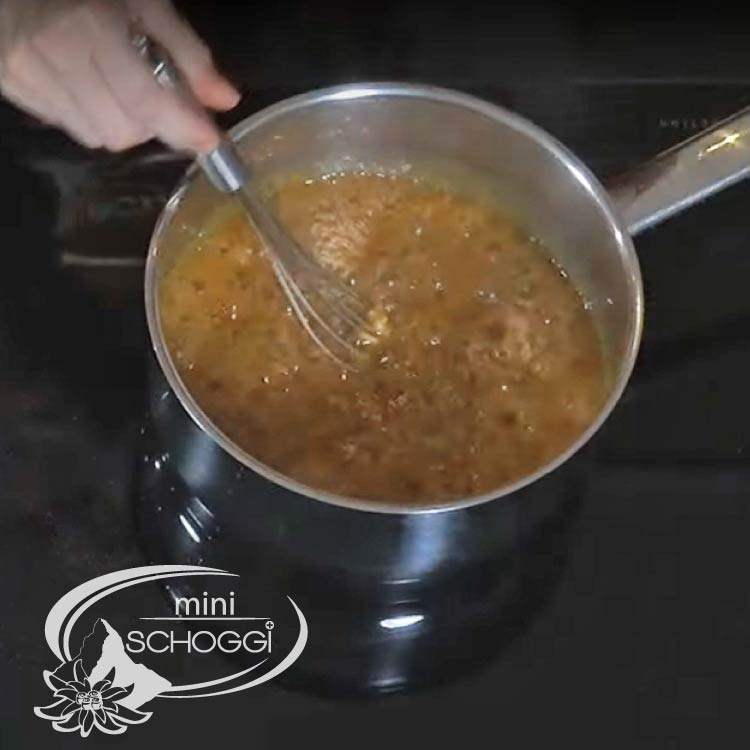
Cover the base of a large pan with about 1/5 of the granulated sugar and allow it to melt.

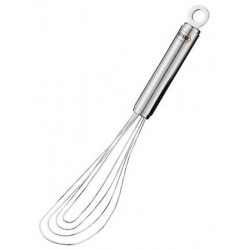
Now pour the full cream into a separate pan and heat slowly over a medium heat. As soon as the first part of the sugar has melted, you can now add another small amount of sugar and stir with a flat whisk. In general, you should always stir a little so that your caramel doesn't burn.

If the melting process is too fast for you, you can easily reduce the temperature. Continue to add the sugar in small amounts until it has been used up. Your caramel should have a nice golden colour and be viscous. If your caramel is too dark, we recommend that you make it again, otherwise it will take on a bitter flavour.

Now add the soft butter at room temperature and stir until a homogeneous mixture is formed. Finally, add the warmed full cream. Add this in 2-3 stages, as the mixture steams and boils up very quickly. As the amount of butter and cream has already been ideally matched to the desired consistency of the caramel, you don't need to leave the mixture to simmer for long, but can pour it into a bowl immediately after homogenisation.

The caramel must now be left to cool in the fridge for at least 1 hour.
Airbrushing the praline mould

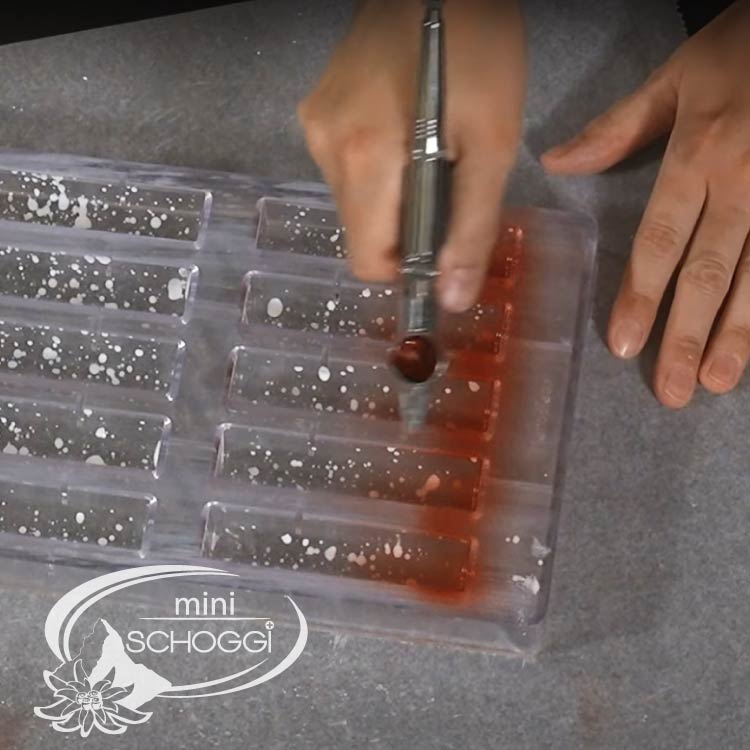
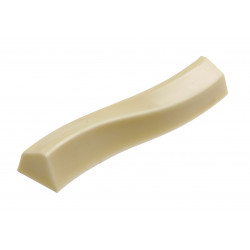
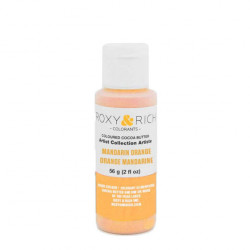
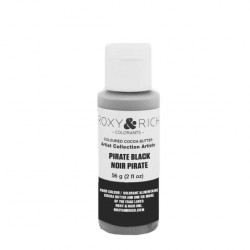
Heat your cocoa butter colours in a warm water bath. Place your bar mould on a piece of baking paper. Pour some of the white cocoa butter paint onto a spoon and run a silicone brush over the edge of the spoon to dot the mould with small dots.

Once you are happy with your result, turn the mould over, wipe it on some kitchen paper to get it clean and leave it for about 10 minutes to let the dots dry. As soon as the dots are dry, you can start airbrushing.

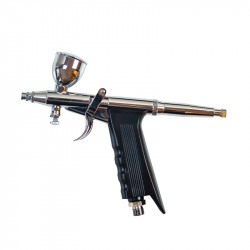
Pour the paint into your airbrush gun with a powerful compressor and spray one end of the mould with the paint. Always turn and rotate the mould slightly so that the paint fills all corners well. (If you start with the lighter colour, you do not necessarily have to clean the gun! - Otherwise, simply wipe it out briefly with a kitchen towel and spray the new colour briefly into the cleaning container when changing colours so that the needle is also "cleaned")

Now take the new colour and spray the other end of the mould with this colour. We have left a small section free in the centre so that you can see the couverture shimmering through a little, but it's up to you whether you do it this way or not. Once you have finished spraying the mould, wipe it well on kitchen paper to get rid of the excess paint.
Leave the mould to dry again for approx. 10 - 15 minutes.

Biscuit base, mould and fill

Place the sponge fingers in a piping bag or plastic bag and crush with a heavy object. The crumbs should be really fine. Now add the melted butter and mix everything together well. Leave to cool at room temperature.

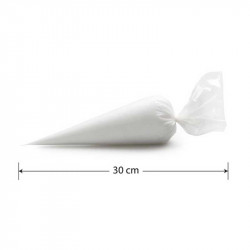
Once the mould has dried sufficiently, you can start the icing. Pour your tempered couverture into a piping bag and fill the bar mould completely with it. Tap and shake the mould a little and then pour the excess couverture back into your container. Again, tap the mould a little, preferably with the back of a spatula.
Leave the moulded bars to cool in the fridge for approx. 10 minutes. Once the couverture is nice and firm, you can start filling the chocolate bars.

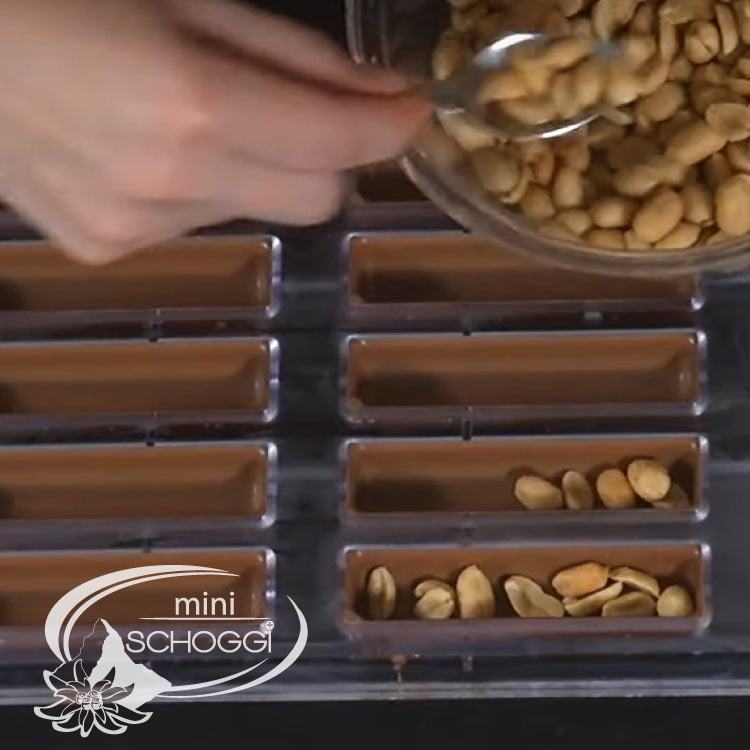
First, place the salted peanuts in the mould. Whether you leave them whole or chop them up is up to you. It's just important that you don't put too much in the mould, as the caramel and sponge cake will eventually be added.

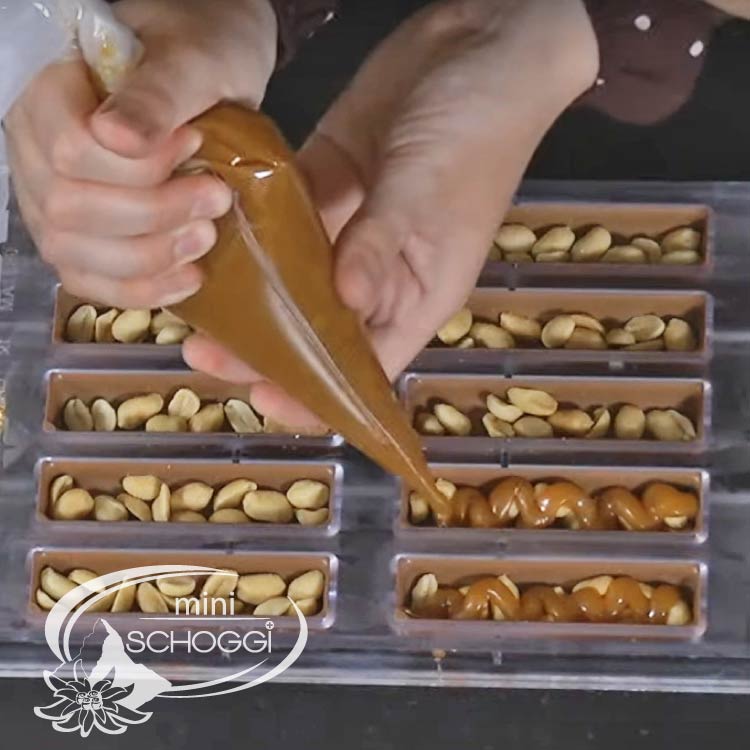
You can now take the caramel out of the fridge and transfer it to a piping bag. The consistency should be nice and creamy. Now pour some of it over the peanuts and tap the chocolate mould gently on the work surface to spread the caramel better.

Now add the biscuit crumbs. Make absolutely sure that they are no longer warm, otherwise the delicate chocolate coating will melt. It is best to spread the crumbs with a small spoon and press them down a little afterwards. Finally, mix the remaining ladyfingers with your tempered milk couverture and pour it onto your chocolate mould.

This will give you a nice crunchy base. Brush off the excess chocolate and put it back in the bowl. If small holes appear when you spread the chocolate, you can easily fill them in again with the leftovers and smooth them out.

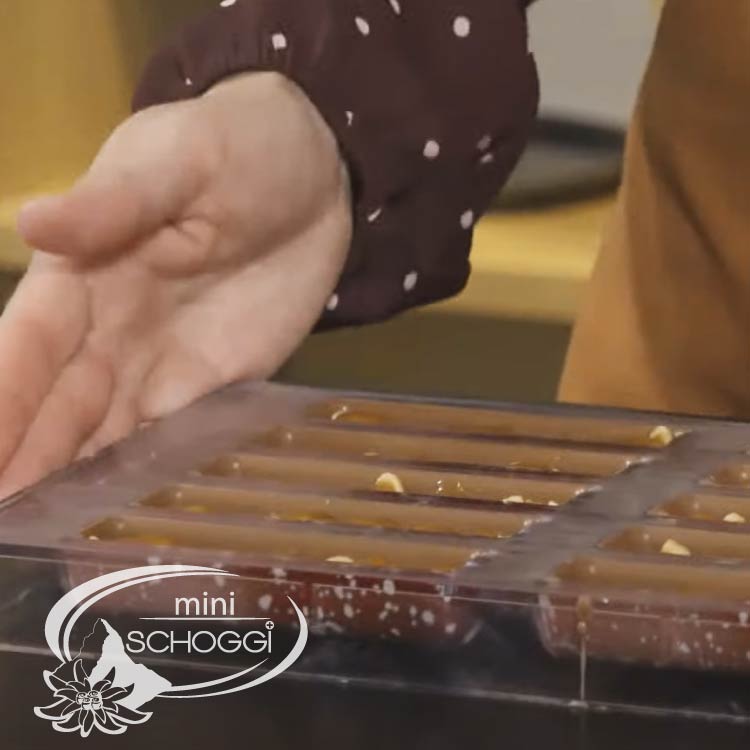
You definitely have the time for this and it is also important, as the chocolates need to be well sealed. Before you can remove your Homemade Snickers from the mould, they need to be in the fridge for another 15 - 20 minutes. Better a few minutes too much than too little.

To release the bars, simply rock the mould slightly at both opposite corners and then turn it over at once. The bars will fall out by themselves.

Storage & shelf life

The homemade Snickers can be stored in a dry place at room temperature for up to 2 weeks. In our experience, however, the sinfully good chocolate bars never get that old.

Nutrition declaration per 100 g

Energy value in kJ: 2038 kJ | Energy value in kcal: 490 kcal | Fat: 33 g, of which saturates: 15 g | Carbohydrates: 38 g, of which sugars: 36 g | Protein: 9 g | Salt: 0.21 g


Leave a comment

Security code