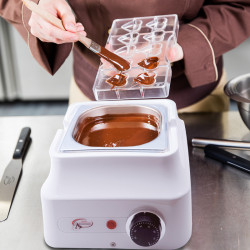
Using a ladle, fill the ball mould to the brim with the tempered couverture. We have used dark couverture here, as these will later be filled with sweet drinking cocoa powder, but if you like it even sweeter, you can of course also fill the moulds with milk couverture or white couverture.
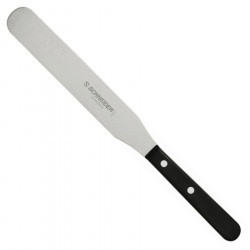
During this process, it is really important that the balls are filled to the brim. As soon as this is the case, use the back of a spatula to tap the mould several times so that the air bubbles can rise to the top and the mould is filled evenly. You can also run a metal horn along the sides of the mould again to keep it nice and clean and avoid getting greasy chocolate fingers.
Now set the mould down briefly and leave it to stand for approx. 1 minute. This will give the Christmas bauble a slightly thicker chocolate coating. After the short waiting time, you can turn the mould completely upside down again and pour the chocolate back into your tempering device. Again, you will need to tap the sides of the polycarbonate mould several times with your spatula and swirl it slightly so that the chocolate flows out more easily and you end up with a uniformly thick chocolate coating.
Now run the spatula along the underside of the mould to scrape off the excess couverture. This will later give the balls a smooth, clean edge. Finally, run a metal horn over the mould again to ensure that the surface is completely free of chocolate.
Then turn the mould out onto a baking tray lined with baking paper and place the mould in the fridge for 25-30 minutes. By turning the mould out onto the baking tray, the remaining chocolate will flow down and form a wider edge. This wide edge is important so that you can later stick the balls together without any problems.
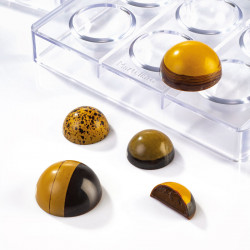
After the cooling time, you can take the hemisphere mould out of the fridge, gently rock the opposite corners slightly and then simply remove the balls from the mould. The balls should come out of the mould without any resistance and should have a nice, approx. 2 mm thick edge.




















Leave a comment